For Developers · Kryptic Vault
Loader & Execution
When a user runs your loadstring, they do not get the raw script. They get a small loader that proves the session is genuine, then receives the real code over an encrypted channel. Here is what happens and why it is hard to bypass.
The execution flow
Handshake
Environment check
Function check
Delivery
Two transports
- WebSocket (default) — a live connection with the lowest latency and the richest session tracking.
- HTTP long-poll (Compatible Mode) — a fallback for executors that cannot hold a WebSocket open. Same security, delivered over HTTP requests instead.
Why it resists tampering
The channel is encrypted and signed. The server identity is verified, every message is checked for freshness and order to block replays, and the challenge token is single-use and tied to the requesting device. If anything looks off, the loader simply does not deliver the script.
Tamper attempts are logged
Execution telemetry
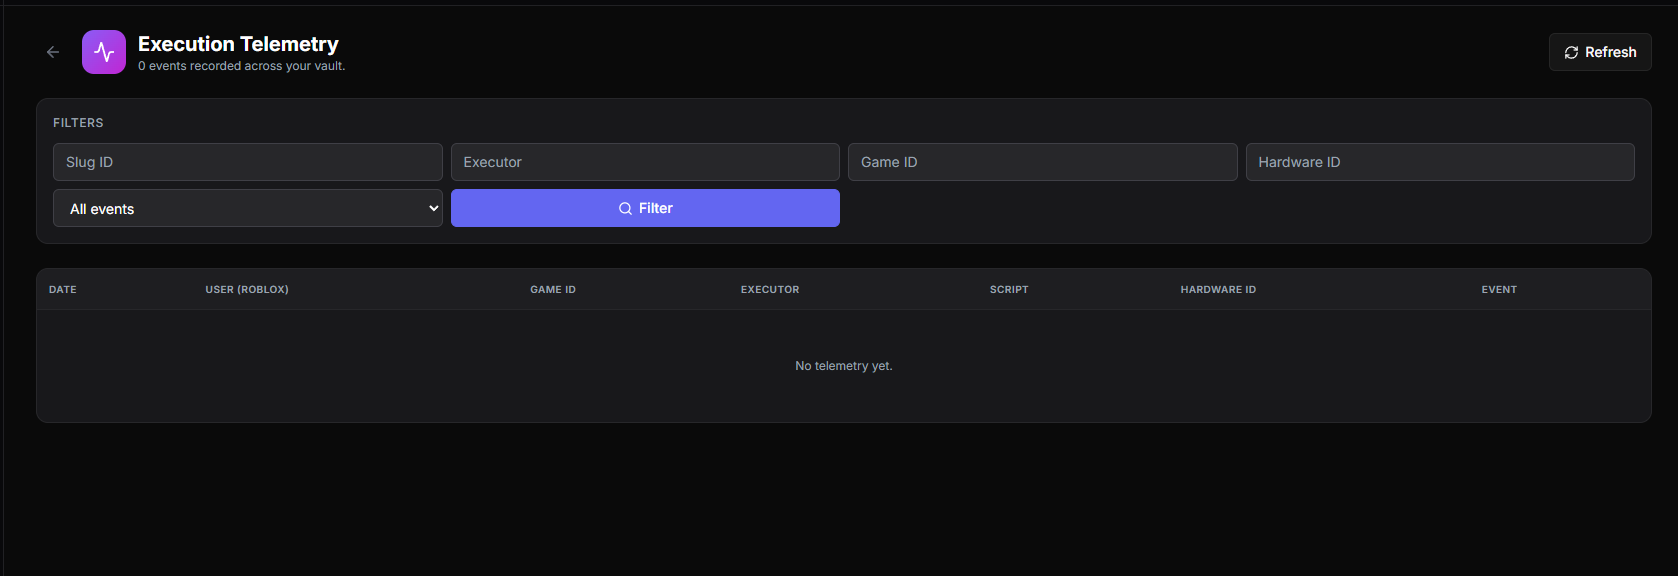
Every run reports back: which executor was used, whether it succeeded, and whether a tamper attempt was seen. The Logs page in the vault turns this into a live view of who is running your script and how it is behaving in the wild.
Built-in PandaAuth
If you linked the script to a service, the loader wires in PandaAuth V4 for you. Your script can call Validate() and GetKey() directly, and when an init script is enabled it is fetched through the same trusted channel.
Loader options
Set these on getgenv() before your loadstring runs. Both are optional and both are read from getgenv() or _G, whichever your executor exposes.
getgenv().HIDE_GUI = true
getgenv().Authentication_Method = "Auto"

loadstring(game:HttpGet("https://vss.pandauth.com/kv/YOUR_SLUG"))()HIDE_GUI— defaults tofalse. When true the on-screen loading card is never created; the same progress is printed to the console instead. Useful for scripts that draw their own UI. Silent Mode still wins over this — it suppresses output entirely.Authentication_Method— which identity your key is checked against. Defaults to"ClientID".
"ClientID"(default) — the executor's hardware id (gethwid()). Unchanged behaviour."UserID_Only"— the player's Roblox user id, sent asrbx-<UserId>. The key follows the account instead of the device, so the same key works on any executor the player uses. It also means anyone on that account shares the key."Auto"— tries the hardware id first and falls back to the user id only if the key is rejected outright. Rate limits and network errors are not retried on the fallback, so a temporary blip never burns it.
Switching modes re-binds the key
"UserID_Only" — or use "Auto", which accepts either. The link returned by GetKey() always carries the identity your chosen mode uses, so new keys bind correctly without any extra work.PandaAuthV4.GetAuthMethod() and PandaAuthV4.GetIdentity() return the active mode and the identity that authenticated, if you want to surface either in your own UI.